Gracious Grove Sew Along --Week 11
Well we made it! Literally! Your quilt blocks are all done, now we get to put them together.
This is the last week of our Sew-Along, but please continue to join me here on my blog for lots of quilty goodness!
This part is simple. But there are a few things to be aware of. Your blocks should all measure 12 1/2” square. If not, it will be hard to make them fit together. Your appliqued blocks should be correct, because we trimmed them to size. But the pieced blocks are often a little short because of all the seams.
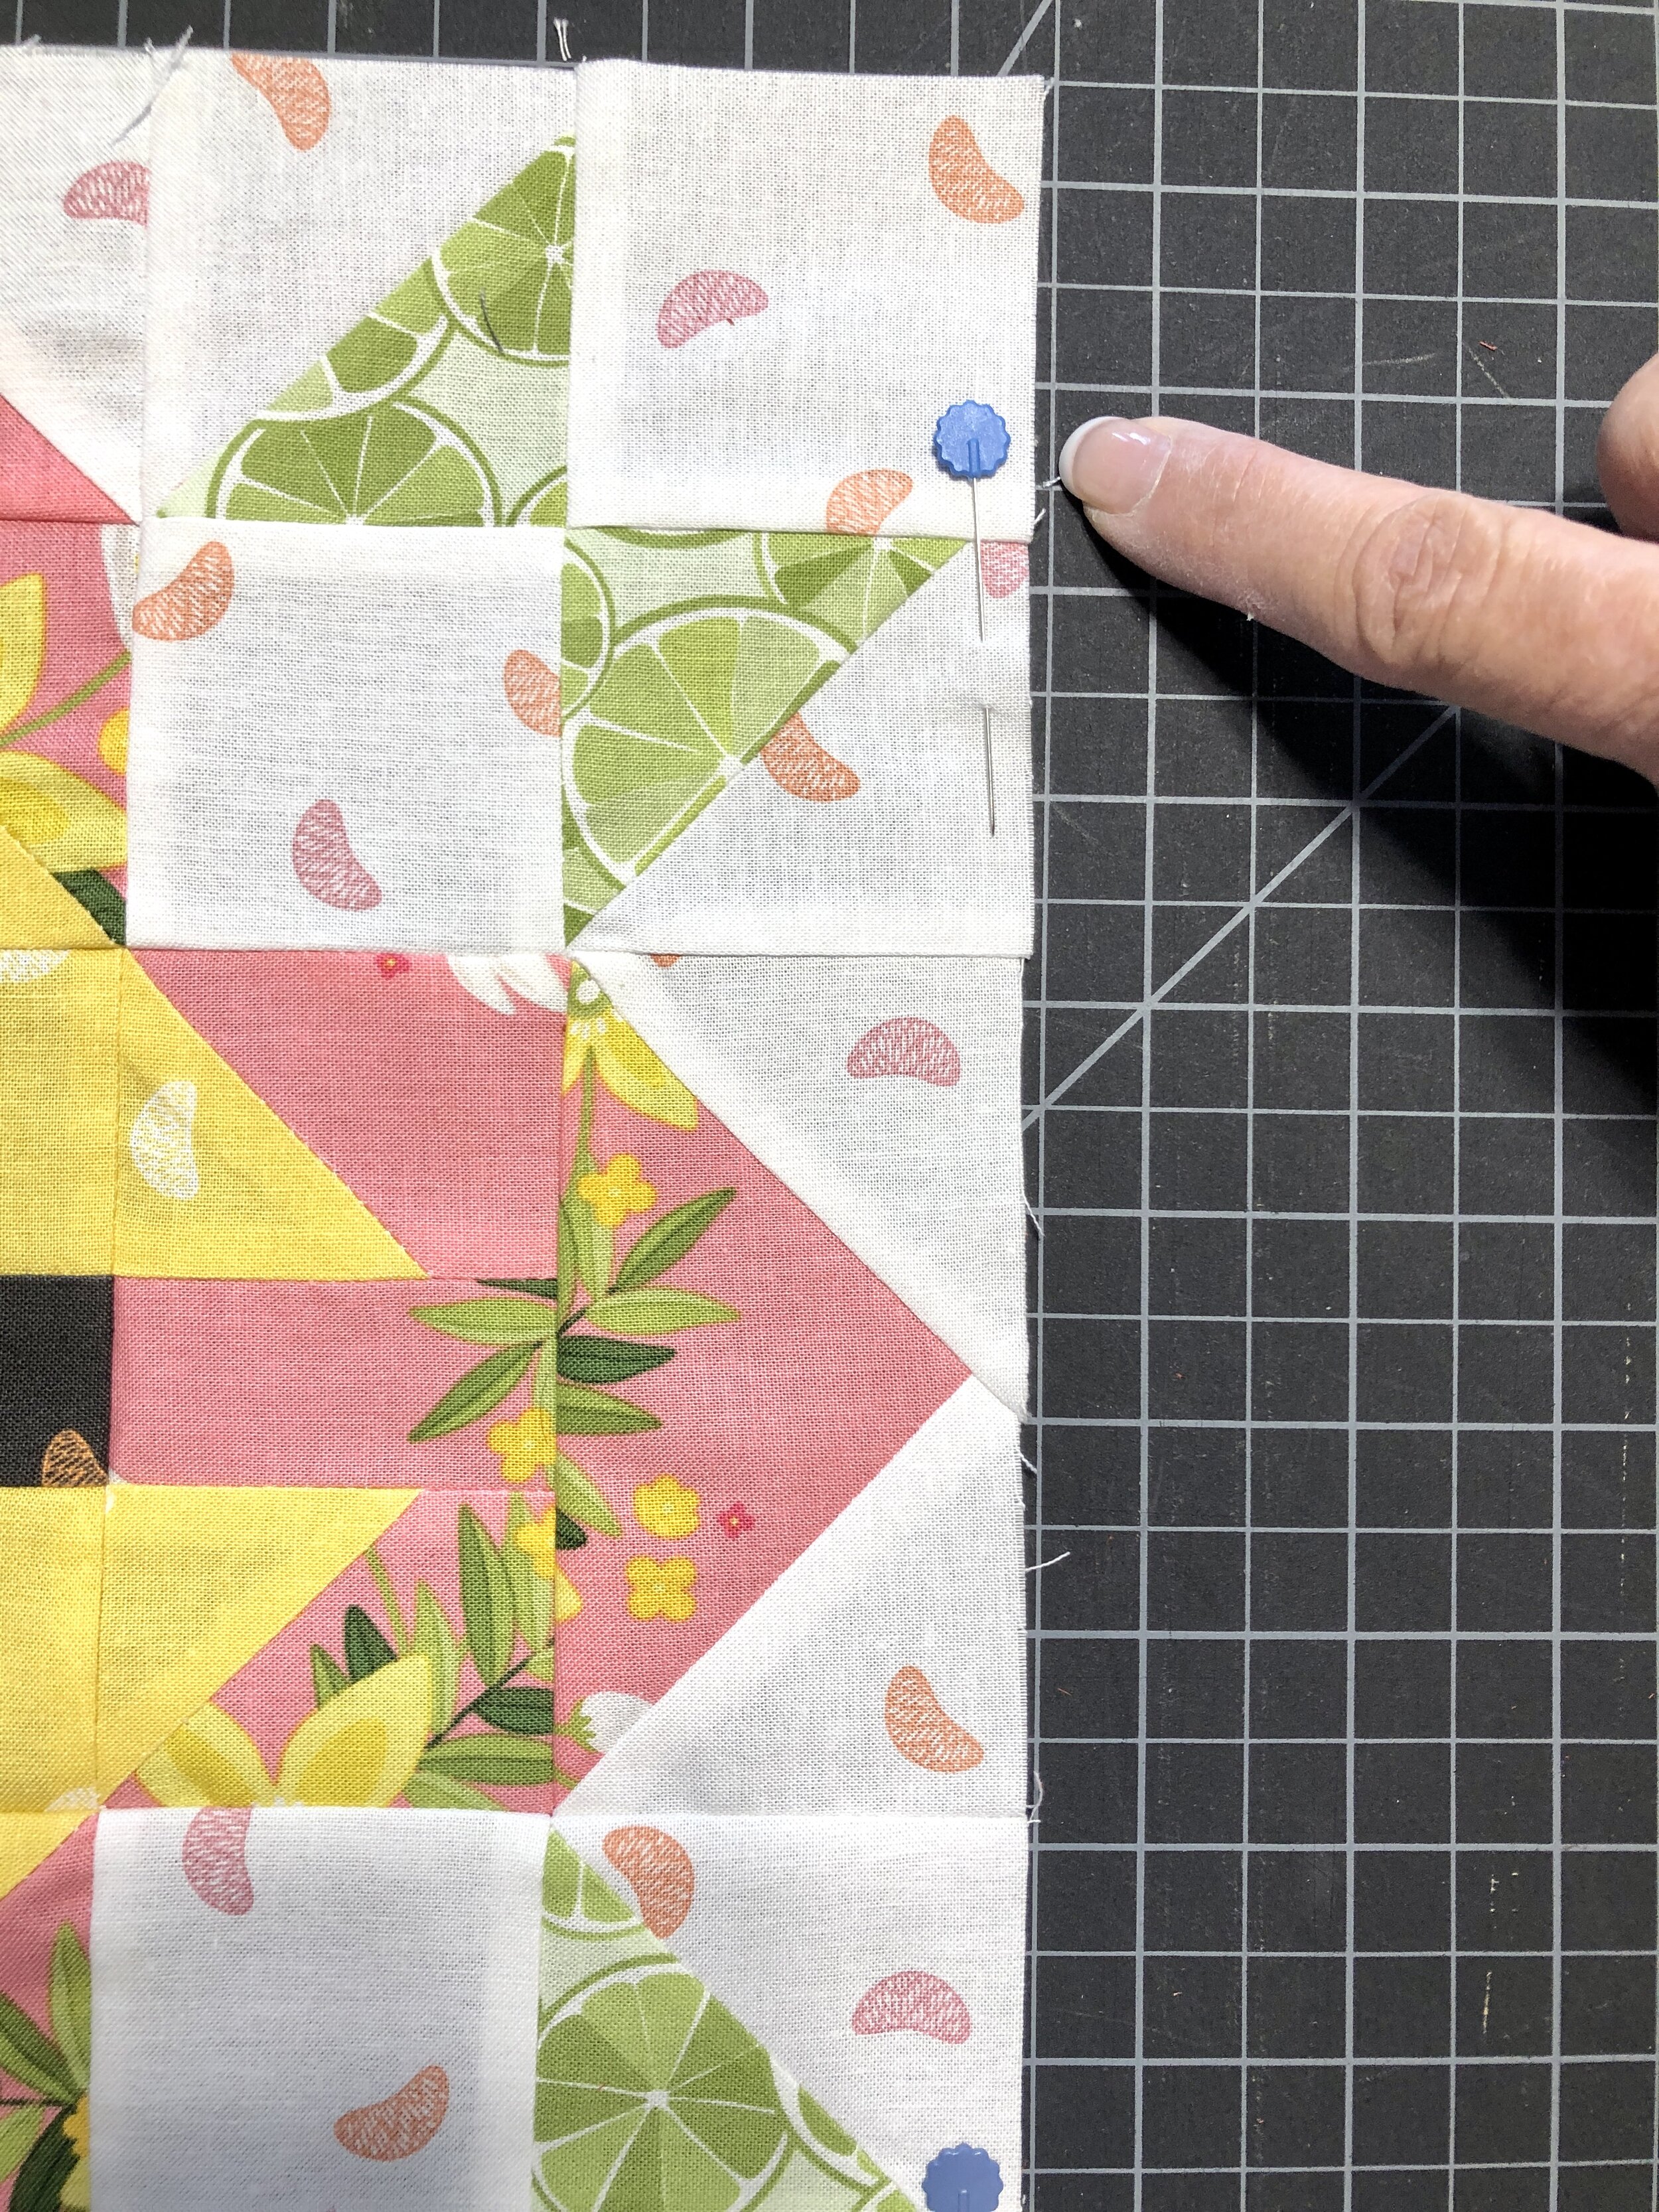
Check your blocks again, and if they are a little short, put a pin in that side. This way, when you go to sew them together, you will know that the pinned side needs a “scant” seam.
this block was a little short on the side, so I added a pin.
Lay out your blocks and pieces in rows as shown in the quilt diagram. Make sure you orient the blocks in the rows correctly—particularly in the border rows. Sew the elements in each row together, and then sew the rows together.
Lastly, add the small green Houndstooth border following the directions. Your quilt top is now done, and ready to be quilted! Get your backing fabric and send this off to the quilter. (Or better yet, quilt it yourself!). I still have some of the Grove collection left if you need to order backing. I chose to use the yellow Blossom print on mine, because that was what I had at the time. But there are so many good options in this collection for backing!
You can shop for your backing fabric HERE. And guess what? It is on SALE this week! You will need 5 yards of backing.
Then it is on to the final step—Binding. Put on a good movie and stitch away!
This was a big project, with lots of detail—but taking it slow and doing one or two blocks a week, we are able to accomplish big goals.
I would love to see your Gracious Groves! Post them on InstaGram and use the hashtag #graciousgrovesewalong.


