Gracious Grove Sew Along -- Week 2
It’s Week 2 of our Sew Along! I hope you had fun last week with your setting blocks. Maybe you got them all done, or have them cut and ready to continue working on. Either way, I’d like to hear from you about your progress. Leave a comment or use the #graciousgrovesewalong on InstaGram.
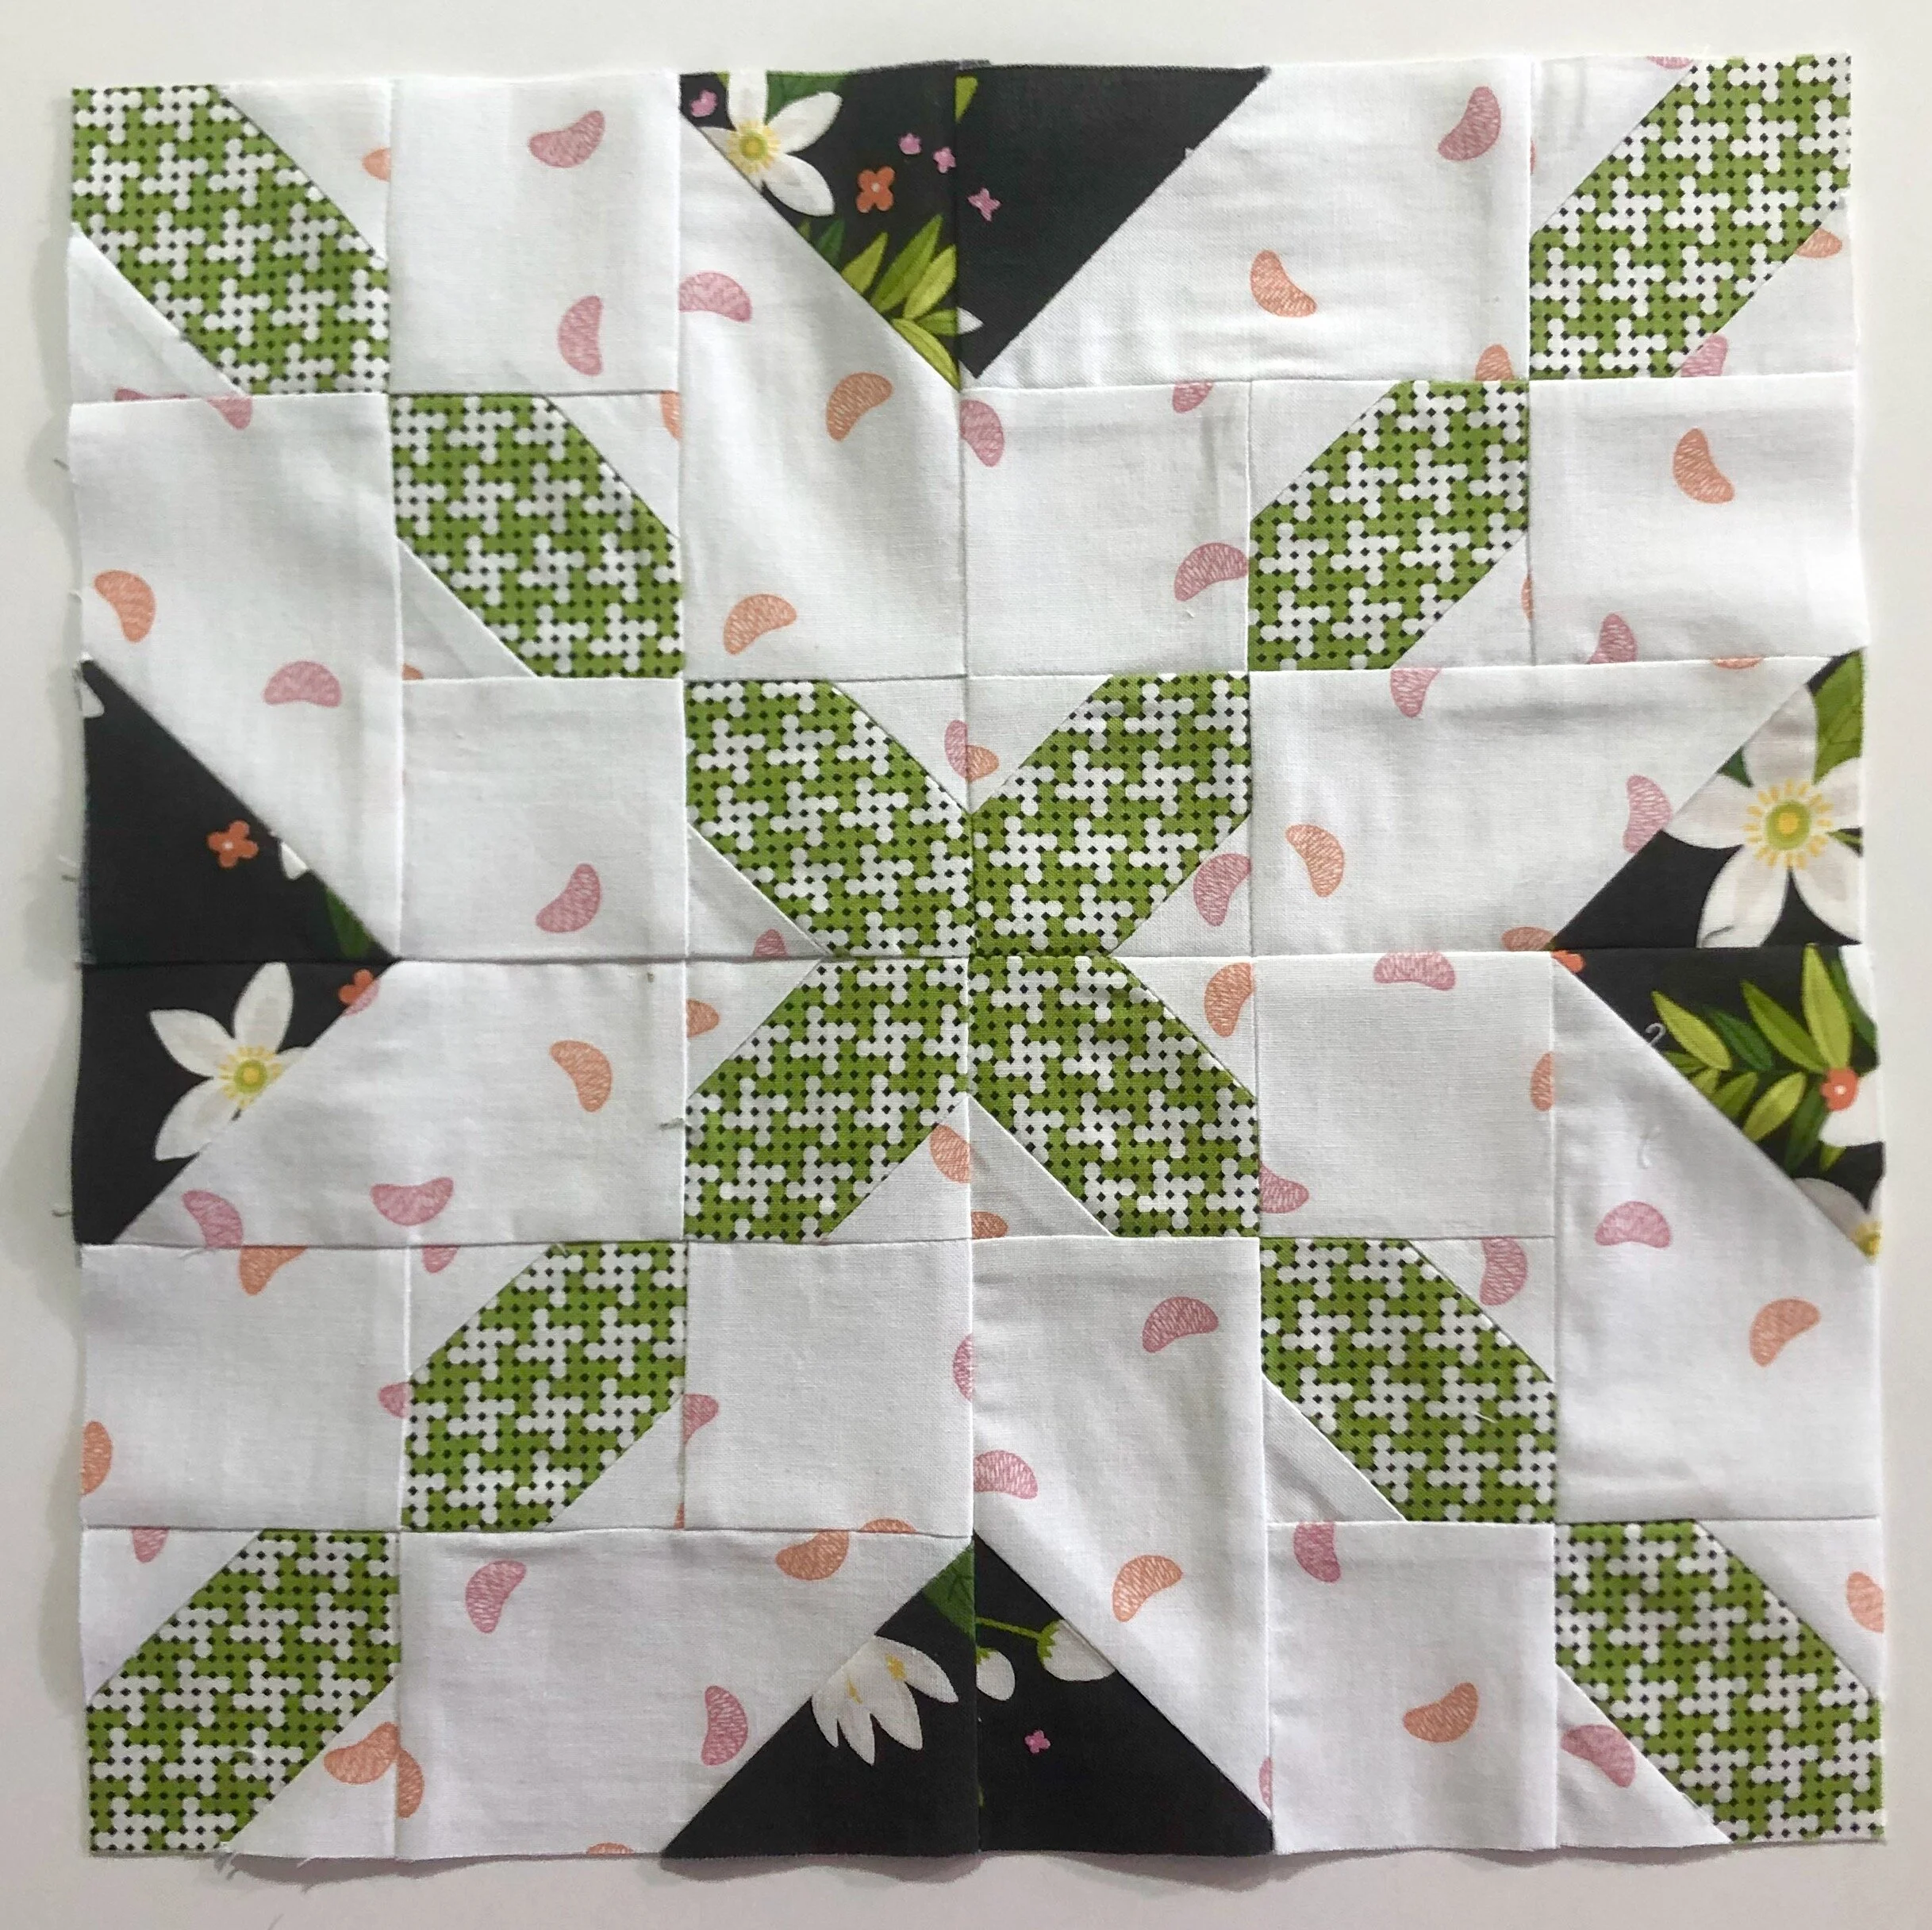
We’re ready to do this week’s block, Block #1. This block is used twice in the quilt, so we will make 2 of them, each with different fabrics. In your pattern just under the heading, Block 1, you will find a list of the pieces you need to cut for this block.
Versions “a” and “b” have similar colors, but different prints.
Version “a”
Version “b”
The black fabric which is in almost every block may seem like an odd choice, or a little out of place when you look at just the blocks. But when we sew the whole quilt together, that bit of black makes sense—connecting the blocks to the setting and borders. It will all come together!
The piecing for this block is simple, using corner triangles like we did last week, and my favorite method of making half-square-triangles (HST).
I like to make two HST at the same time, and then trim down to the exact size I need. We do this in
Step 1: Place the 3” squares right sides together, and then sew 1/4” away on both sides of the the drawn line. This is a little different from the corner-triangles, where we sewed right on the drawn line.
Making two HSTs
Cut on the drawn line and you will have two HST ‘s. Press the seam allowance toward the darker fabric and then trim your HSTs to 2 1/2” square.
Using these two techniques, (HST and Corner Triangle) you can make all of the units to create Block 1.
Here I have the units made and lay them out in three rows. Sew together the units in each row, then sew the rows together.
Units laid out in rows. . . Can you spot the mistake?
IMPORTANT NOTE: Notice that the unit on the bottom left is turned wrong. Make sure that as you are sewing them together, you orient the units correctly or you will be using your seam ripper! I caught this mistake on the photo and decided to leave it in —to remind you to check the orientation before you sew!!
I have been known to sew a whole quilt top together before finding a mistake. They are usually very simple mistakes of just turning the wrong way, but it can make a big difference, and be a pain to fix if you don’t catch it right away!
One more tip that will help you is in the pressing. Sometimes in a pattern I will tell you which way to press the seam and sometimes I don’t. That’s because in some cases it doesn’t make a difference, and then there is personal preference. I found when making this block again that it is better to press your seam allowance toward the WHITE on your flying geese units. (Step 2). Trim the seam allowance and press OUT toward the White before adding the second white triangle. Also press the second one OUT. This will help them nest together as you are sewing the units together.
In Step 3, press the seams away from the center pink rectangle. In Step 5, press the seams toward the black rectangles.
Make this block one more time for Version “b”. By now you are a pro! That’s all for this week. See you back here again next week to do Block 2!


